
In this video we’ll take a look at how to install Tautulli on OpenMediaVault 5 (OMV5).
We’ll use a standard method of installing via Containers and this will only take just a couple of minutes.
To get started, login to your Portainer admin panel. Click on “local” and then click on “Containers”.
Next, click on the blue “Add container” button near the top of the page.
The information we need to fill into the “Add container” page will be as follows:
docker create \
  --name=tautulli \
  -v <path to data>:/config \
  -v <path to plexlogs>:/plex_logs:ro \
  -e PGID=<gid> -e PUID=<uid>  \
  -e TZ=<timezone> \
  -p 8181:8181 \
  tautulli/tautulli
Here is a link to the original document on Docker.com: https://hub.docker.com/r/tautulli/tautulli
You’ll need to name the Container “tautulli” without the quotes.
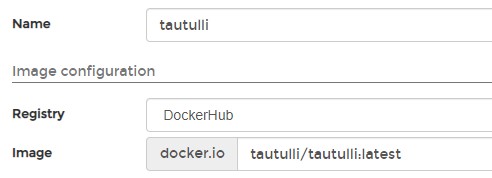
Portainer Name
Tautulli Volumes
Portainer Volumes
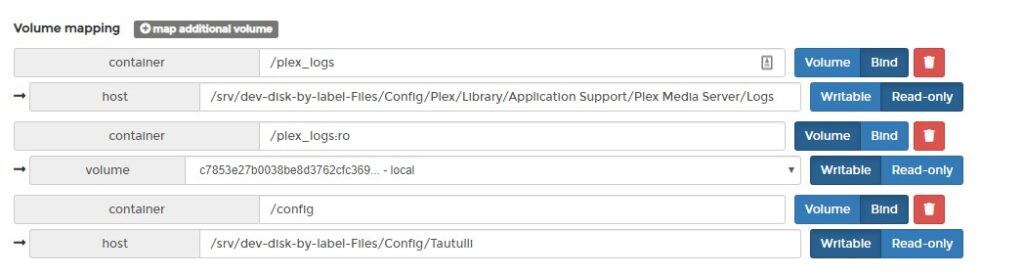
Next, put in the absolute path to the Configuration folder for Tautulli (/config). You can get the absolute path of your Config folder in OpenMediaVault’s “Shared Folders”. Note that you may have to enable the “Absolute Path” column to see it.
The next entry under Volumes will be the absolute path to the Plex logs (/plex_logs:ro) . This will be in Plex’s configuration folder, but will be a few folders deep. Mine looks like this:
/srv/dev-disk-by-label-Files/Config/Plex/Library/Application Support/Plex Media Server/LogsEnvironmental Variables

Portainer Environmental Variables
You’ll need to get the UID and GID of your Portainer administrator account and enter them in accordingly. There will be a bit of a difference as you’ll need the variable name to be PUID and PGID when entering them into Portainer.
You’ll want to enter your time zone or TZ as another Environmental Variable. I live near Denver, so mine is: America/Denver
Opening Ports for Tautulli

Portainer Ports
Next, you’ll need to make sure that you can access your new container, so go to “Manual network port publishing” and click “publish a new network port” and enter 8181 in each of the available boxes.
Deploy the Tautulli Container
Once you’ve got all that data entered, you can click the blue “Deploy the Container” button. After a few seconds, the screen should reload and take you back to your list of containers. Click the “Logs” icon and wait for it to say that it’s ready and then you can go to your browser and open the new container by going to your server’s IP address and adding :8181 to it so it may look like: http://192.168.1.236:8181
/=========================================/
Here’s my Amazon Influencer Shop Link:
Amazon: https://dbte.ch/amazonshop
/=========================================/
Like what I do? Want to be generous and help support my channel? Here are some ways to support:
Patreon: https://dbte.ch/patreon
Ko-fi: https://dbte.ch/kofi
/=========================================/
Remember to leave a like on this video and subscribe if you want to see more!
/=========================================/
Follow Me:
Twitter: https://dbte.ch/tw
Facebook: https://dbte.ch/fb
Subscribe: https://dbte.ch/ytsub