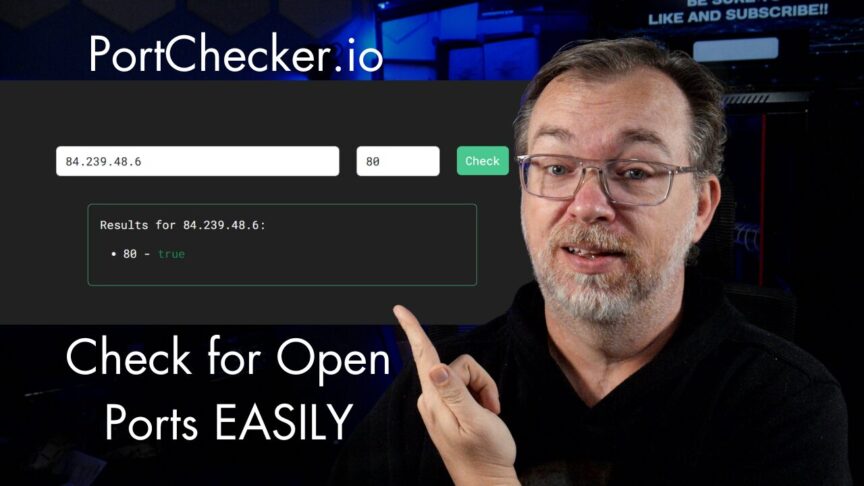
In today’s tech-savvy world, self-hosting applications can provide enhanced privacy and control. One such utility is PortChecker.io, a free tool that allows you to check the port status of any hostname or IP address. In this article, we will explore how to set up PortChecker.io using Docker, making it a handy asset whether you’re managing a home network or developing applications.
What is PortChecker.io?
PortChecker.io is a versatile utility that lets you verify if specific ports are open or closed on a host. This tool can be particularly useful for those involved in network configurations and port forwarding management. For instance, when setting up a server or service, you need to ensure the appropriate ports are accessible for communication.
Why Self-Host PortChecker.io?
Self-hosting PortChecker.io offers several benefits:
- Privacy: You maintain control over your data.
- Customization: You can modify the tool and integrate it with other services as per your requirements.
- Availability: Your instance can be available anytime, without depending on the internet service provided by external sites.
Getting Started with Docker
Before diving into the installation of PortChecker.io, you’ll need to ensure Docker is set up on your machine:
- Install Docker: Follow the instructions on Docker’s official site to install Docker for your operating system.
- Verify Installation: Run
docker --versionin your terminal to confirm that Docker is installed correctly.
Step-by-Step Installation of PortChecker.io
Now that Docker is ready, let’s proceed with installing PortChecker.io:
1. Clone PortChecker.io Repository
You can find the source code for PortChecker.io on its GitHub page. Clone the repository using the following command:
git clone https://github.com/danhand/port-checker.git2. Create a Docker Compose File
You’ll need a docker-compose.yml file to define the services. Below is a basic example:
---
services:
  web:
    image: ghcr.io/dsgnr/portcheckerio-web:latest
    container_name: web
    environment:
      - DEFAULT_PORT=443  # Optional, Populates a default port value to be populataed in the in the UI input
      - GOOGLE_ANALYTICS=  # Optional, set for Google Analytics integration
    ports:
      - 8080:80
    healthcheck:
      test: ["CMD", "wget", "--spider", "-S", "http://localhost"]
      interval: 30s
      timeout: 10s
      retries: 3
      start_period: 5s
    depends_on:
      - api  # Ensure api service is ready before web starts
    networks:
      - portchecker
  api:
    image: ghcr.io/dsgnr/portcheckerio-api:latest
    container_name: api
    environment:
      - ALLOW_PRIVATE=false  # Prevent usage of private IP addresses
    ports:
      - 8000:8000
    healthcheck:
      test: ["CMD", "wget", "--spider", "-S", "http://localhost:8000/healthz"]
      interval: 30s
      timeout: 10s
      retries: 3
      start_period: 5s
    networks:
      - portchecker

networks:
  portchecker:
    driver: bridge
This sets up two services: web and api. Here, we expose the port 80 externally through 8080, and API calls will be made through port 8000.
3. Deploy Using Docker Compose
Once the docker-compose.yml file is ready, deploy the services with:
docker-compose up -dThe -d flag runs Docker in detached mode, allowing you to continue using the terminal.
4. Access PortChecker.io
After deployment, you can access your self-hosted PortChecker.io by navigating to http://localhost:8080 in your web browser.
5. Check Ports
You can now enter an IP address or hostname and check the ports. For example, testing port 80 or 443 can help you verify if your web services are running appropriately.
Customization and Advanced Settings
Once your PortChecker.io is running, you might consider tweaking a few settings:
- Environment Variables: You can adjust the allowed private IP addresses by modifying the environment variables. For instance, set
ALLOW_PRIVATEtotrueif you need to check private IP ranges. - Persistent Storage: Although PortChecker doesn’t require persistent storage, you may want to configure volumes in your Docker Compose file if you decide to collect logs or metrics.
Utilizing Portainer for Management
If you prefer a graphical interface to manage your Docker containers, Portainer is an excellent tool. It allows you to handle your containers, images, volumes, and networks effortlessly. Simply install Portainer and link it to your Docker instance to get started.
Conclusion
Self-hosting PortChecker.io with Docker can greatly enhance your control over network configurations and port management. By following this guide, you’re not only equipped to deploy this useful tool but also to modify it to suit your specific needs.
Are you ready to take charge of your network monitoring? Start self-hosting PortChecker.io today and ensure that your ports are exactly as they should be!

