Every once in a while, we all need to send files or folders to someone for various reasons, be it for work, sharing memories, or any other purpose. Traditionally, many rely on platforms like WeTransfer for quick file sharing, but as we dive deeper into the realm of digital solutions, an exciting new self-hosted alternative comes to the forefront: Erugo. This platform not only allows users to bypass the intrusive ads commonly found in many file-sharing services but also provides a customizable and private solution for transferring files.
What is Erugo?
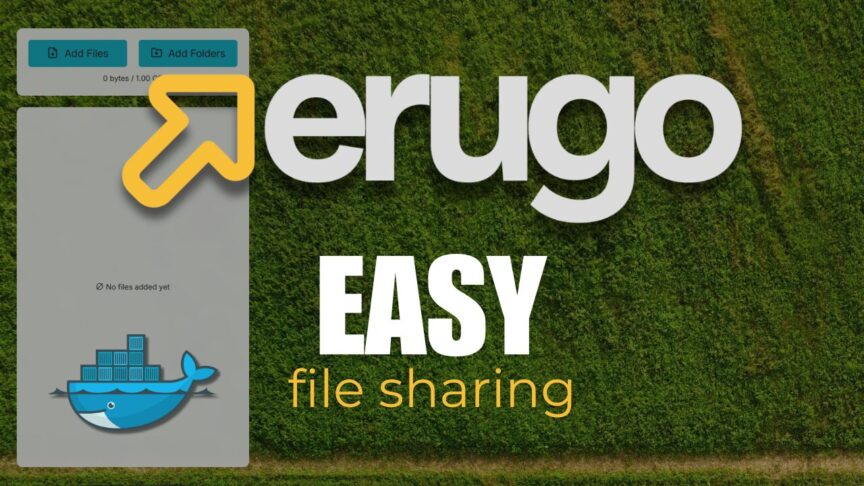
Erugo is a self-hosted file-sharing service designed to allow users to share files effortlessly while maintaining control over their data. The name itself embodies the platform’s goal: to offer a clean, efficient, and ad-free environment for sharing files. Built primarily in Go and Vue.js, this application combines simplicity with functionality, making it an attractive choice for those who seek alternatives to commercial file-sharing services like WeTransfer.
Why Choose Erugo Over WeTransfer?
While services like WeTransfer offer a free option for file sharing, they come with limitations that can be frustrating for users:
- Ad Intrusions: WeTransfer’s interface is cluttered with advertisements, making the user experience feel more like a marketing platform than a file-sharing service.
- File Size and Transfer Limitations: WeTransfer restricts free accounts to 2GB per transfer. If users need additional features, the pricing can reach $25 monthly for the pro version, which is not ideal for casual users.
- Data Privacy: With WeTransfer, users sit at the mercy of a third-party service, where their data could be subject to unwanted attention or breaches.
In contrast, Erugo is a self-hosted solution, granting users full control over their shared files without the worries of ads or data monetization schemes.
Key Features of Erugo
Erugo comes equipped with a range of features tailored for a seamless file-sharing experience:
- User-Friendly Interface: Erugo features a straightforward dashboard design that simplifies file and folder uploads.
- Secure Sharing: By self-hosting, users maintain control over who accesses their files and how they are shared.
- Customization Options: Users can modify the aesthetic of the interface to better fit their style preferences.
- Singular Functionality: The platform focuses solely on file sharing, ensuring it operates efficiently without unnecessary features or distractions.
Getting Started with Erugo
Setting up Erugo is straightforward, especially for those familiar with Docker deployments. Here’s a step-by-step look at getting Erugo installed on your server:
Step 1: Install Docker
Make sure you have Docker installed on your server. Docker encapsulates your application with all of its dependencies, enabling easier deployment.
Step 2: Pull the Erugo Image
Run the command to pull the latest image from Docker Hub:
docker pull wardy784/erugo:latestNote: Technically this step is optional
Step 3: Docker Compose
Create a docker-compose.yml file, which will define your Erugo setup. Here’s a basic example:
services:
  app:
    image: wardy784/erugo:latest
    restart: unless-stopped
    volumes:
      - /Users/dean/erugo-storage/storage:/var/www/html/storage
    ports:
      - "9998:80"
    networks:
      - erugo

networks:
  erugo:
    driver: bridge
Notes: This docker-compose is different than what you’ll have seen in the video as the docker-compose has been updated. There is also a second docker-compose option available in the Github repository that requires cloning the repository, renaming the .env.example file, and then deploying.
Step 4: Deploy Erugo
Launch the following command in the directory where your docker-compose.yml file resides:
docker-compose up -dThis command will deploy Erugo in a detached mode, meaning it will run in the background.
Step 5: Access Erugo
Once deployed, access your Erugo instance via your browser at http://your-server-ip-address:9899 and set up your admin account. From here, users can start uploading files and folders immediately. Alternately, you can access this on a domian name via a reverse proxy of your choice.
Using Erugo
Using Erugo is straightforward:
- Add Files: Click on the “Add File” option to select files or folders for upload.
- Share URLs: Erugo generates friendly share URLs, allowing you to easily send links to collaborators or friends.
- File Expiration: Files shared through Erugo typically expire after seven days, ensuring your storage remains manageable.
Important Considerations
While Erugo has impressive features for a self-hosted platform, users should be aware of its current limitations due to its early development stage:
- User Management: At this point, the only way to add users is manually, which can help maintain secure access control, but may limit collaborative potential in large teams.
- Dashboard Limitations: As of now, there isn’t a user dashboard for viewing uploaded files, which might be a feasible enhancement for the developer to consider in future updates.
Conclusion
Erugo stands out as an appealing alternative to WeTransfer, particularly for those who prioritize privacy and control over their file-sharing needs. It’s a fast, simple, and effective application that promises to deliver seamless and secure file transfers without unnecessary distractions. Whether you’re a casual user or a developer looking for a private sharing solution, Erugo makes a strong case for switching from conventional file-sharing services.
Curious to explore Erugo for yourself? Head over to Erugo’s GitHub repository to check out the latest updates and contribute to its development. Don’t forget to share your thoughts in the comments below and engage with this growing community of developers and users. Your next file-sharing experience might just be a click away!