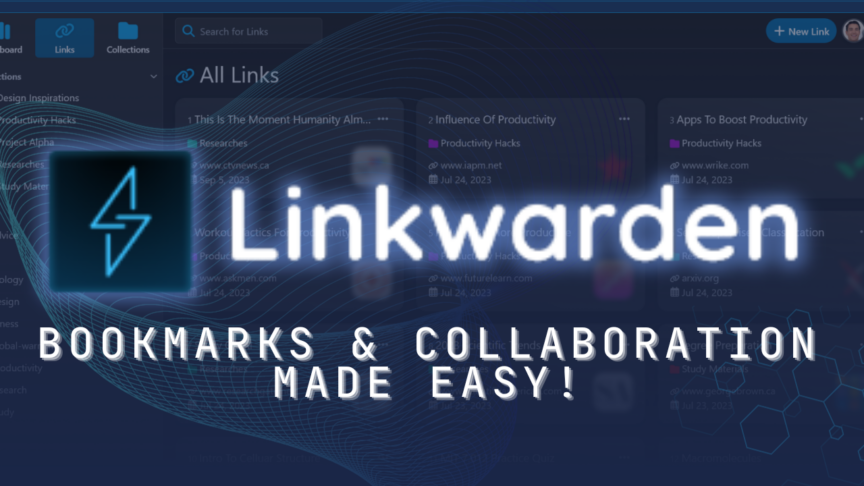
Hey guys! how’s it going? I hope everyone is doing well out there today. In this video we’re going to take a look at a self-hosted, open-source collaborative bookmark manager called Linkwarden that allows you to collect, organize, and archive webpages.
Quick Overview
The objective is to organize useful webpages and articles you find across the web in one place, and since useful webpages can go away, Linkwarden also saves a copy of each webpage as a Screenshot and PDF, ensuring accessibility even if the original content is no longer available.
Additionally, Linkwarden is designed with collaboration in mind. This means that sharing links with the public and/or allowing multiple users to work together seamlessly is super easy.
You can even group bookmarks into collections and share those collections with friends and colleagues.
Hey! Do me a favor and don’t forget to like and subscribe if you enjoy this video! Also, be sure to let me know what your thoughts are on this in the comment section down below.
Installation
Installing Linkwarden is pretty straightforward, so let’s take a look.
First thing we’ll want to do is SSH into our Docker server and clone the Linkwarden github repository by typing:
git clone https://github.com/linkwarden/linkwarden.git linkwarden
Then we’ll need to cd into the linkwarden directory we just cloned into.
if we now run the command:
ls -a
we’ll see all of the files and folders that we’ve downloaded.
The first thing we want to do is rename the .env.sample file to just be .env.
We can do that by typing:
mv .env.sample .env
Now we’ll want to edit the .env file with vi or nano or whatever your editor of choice is.
The only thing you MUST change here is POSTGRES_PASSWORD and VERY_SENSITIVE_SECRET, they both should be different secret phrases.
There are other settings in here that you can change if you want, but most of them won’t have any impact on your installation.
The PAGINATION_TAKE_COUNT is for pagination on the dashboard so you can adjust that if you want.
You can enable or disable registration via this file as well.
The AWS S3 settings are to be used at your discretion.
You’ll also see the SMTP settings in the file, but those won’t work unless you compile the image yourself. This image was compiled without the SMTP settings enabled. There will be a link in the description with more information on how to do this.
The Stripe settings don’t apply to us, so we can skip those.
Again, be sure to change the POSTGRES_PASSWORD line to have a your desired database password in it.
Now you can save and edit the file.
Next we’ll take a look at the docker-compose.yml file.
This is a very standard configuration with just 2 services in it.
The first service is the postgres database.
It tells us that the Docker image we’re going to use is “postgres”.
It’s got a reference to the .env file we just looked at as well as a restart policy of “always”.
Below that is where the data will be stored. You might want to change this to wherever you store your data.
The other service in this docker-compose is the linkwarden app itself.
It also references the .env file we modified earlier.
The environment variable we see here is for the connection to the database. There is no need to modify this in any way. Just leave it as it is.
Next we’ve got a restart policy of “always” like we saw earlier on the database.
Then we’ve got our linkwarden image listed. Nothing to change here unless you need a specific version of linkwarden, but chances are that you don’t so just leave it.
The app will be available on port 3000 by default. If you already have an app using port 3000, then you can change the first 3000 to something else, but do not change the 3000 after the colon.
Again, we’ve got a volume where the files will be stored, so map this wherever you need to map your storage.
The last line just tells the system that the database needs to be up and running before the linkwarden app tries to start up.
That’s it. Once you’ve got the things set up the way you need it, you can save and exit the file.
Now we’ll need to deploy the containers with a simple command:
docker compose up -d
If this doesn’t work, you can also try running:
docker-compose up -d
This just has to do with which version of Docker Compose you have installed on your system.
The -d is just to make sure that the container being up and running isn’t dependent on our terminal window being open.
After a couple of moments, the containers will be up and running so we can head over to our browser and put our server’s IP address and the application port in the URL bar.
Using Linkwarden
Once the page loads, you’ll just want to create an account and then log into your new account.
The first time you login, there won’t be much going on. So let’s fix that by adding some links.
Click the “New Link” button near the top.
Now enter the URL you want to save. There are no collections just yet, so we can skip that. But if you click “More Options,” you’ll see that you can add a name, tags, and a description.
Something I’ve noticed is that you CAN add tags on the fly here, but, for some reason, you can’t add collections the same way. I’m not sure if this was an oversight or a limitation, but I’d like to have the ability to add collections as easily as adding tags.
Next you can put in custom description if you want.
Once you’re happy with everything here, you can click “Add”.
The system will add your tag and the page will reload. Now you can head over to to the “Unorganized” folder link on the left side of the page and you should see your link in the main body of the page.
At the top of the page, we’ll see the “Unorganized” title with a double arrow that we can use to sort our links. Next to that is an icon of 3 dots.
When you click that, you’ll see the options to Edit the Collection Info, Share/Collaborate, or Delete the collection.
If you click the Edit option, you can change the name, the icon color, and the collection description.
If you click the “Share & Collaborate” option, you’ll see an option to make this collection public. If you click that (and then click Save), you’ll get a URL that you can share with anyone and they’ll be able to see your links.
At this time, the public share pages aren’t great. They are bland and only share the link. The currently don’t share the Screenshot or PDF at this time, but I’ve talked to the developer and those things will be addressed in upcoming releases.
Now let’s go back to the collection page with our link on it.
Let’s click that 3 dot icon near the top again and click “Share/Collaborate”.
Below the public URL we enabled, we’ll see a spot for Member Management. In the text box below that, we can share the collection with other members on the site and even change their ability to “Create, Update, or Delete” items in the collection.
Be sure to give these permissions according to the necessity of whoever will be accessing your collections.
Now let’s go back to the collection page with our link on it again.
We’ll see the link and some other information as well as the 3 dot icon we saw earlier.
Click that icon. From here, we can pin the link to our dashboard for quicker and easier access. We can also edit or delete the link from here.
If you click the link you just created, you’ll see “Link Details” and “Edit Link” across the top. Those are pretty self-explanatory.
Next you’ll see the link, the description of the link, and a couple of “Archived Formats” as well as the date the link was saved.
Depending on the link you’re saving and your system and whatnot, the page might take a moment to generate the screenshot and PDF.
To view either of the files, you can click the box arrow icon.
I have noticed that the PNG screenshot is usually more accurate than the PDF, but that can always be fixed in upcoming updates.
So that is the core functionality of Linkwarden at the time of making this video, but there’s one thing we didn’t look at just yet and that’s how to update your account.
Looking at the dashboard, there’s an account icon in the top right of the page.
If you click that, you can edit your account settings, switch to light mode, or log out.
Let’s click “Settings”.
On the first page you can update your profile image, display name, and username.
One the “Privacy settings” link you can make your account as private or import your browser bookmarks via an HTML file.
And on the password tab, you can update your password.
Wrap Up
So that’s how to install and use Linkwarden. I chatted with the developer via email and they seemed very open to my thoughts and ideas, so if you have some of your own, be sure to head over to the Github page and let them know your thoughts.
As always, everything will be linked in the video description.
Again, don’t forget to like and subscribe and maybe leave a comment down below to let me know what you think of Linkwarden. Maybe you’ve got an idea for a video and you could leave that down there as well.
In any case, I’m going to wrap this up. Thanks for spending a few minutes of your day with me today and I’ll talk to you in the next video!