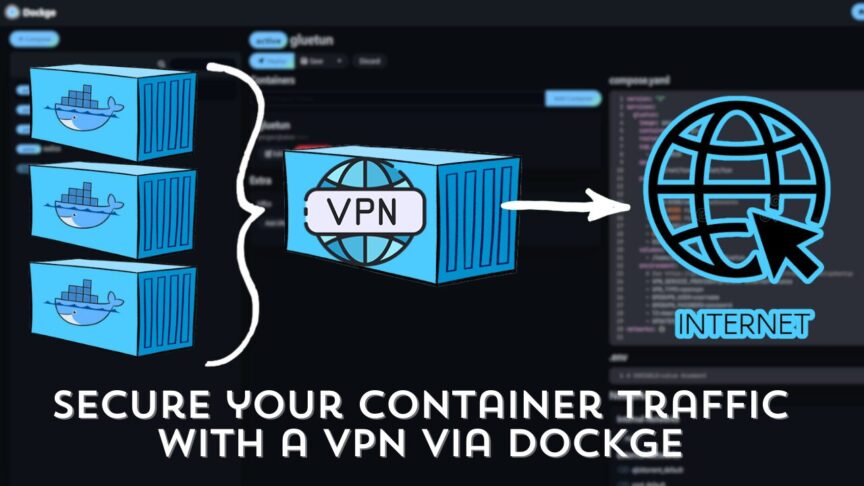
In this video we’re going to take a look at how to run the traffic of Docker containers through a VPN container for better online security and anonymity.
Thanks to YouTube viewer Red Rabbit for leaving a comment asking me to make a video showing how to run the traffic of different Docker containers through a VPN container using Dockge.
I’ve made a video like this in the past, but it was done in Portainer and the process of doing it in Dockge is a bit different.
If you’re looking for a great VPN for your setup, I’ve been using Private Internet Access for a number of years and have had great results!
sponsored link
First thing we need to do is install Dockge in the terminal using a docker-compose.yml.
To do this, you can run the command:
nano docker-compose.yml
Then you can paste in the following information:
version: "3.8"
services:
  dockge:
    image: louislam/dockge:1
    restart: unless-stopped
    ports:
      - 5001:5001
    volumes:
      - /var/run/docker.sock:/var/run/docker.sock
      - ./data:/app/data
      # Stacks Directory
      #  ^z   ^o READ IT CAREFULLY. If you did it wrong, your data could end up writing into a WRONG PATH.
      #  ^z   ^o 1. FULL path only. No relative path (MUST)
      #  ^z   ^o 2. Left Stacks Path === Right Stacks Path (MUST)
      - /opt/stacks:/opt/stacks
    environment:
      # Tell Dockge where to find the stacks
      - DOCKGE_STACKS_DIR=/opt/stacks
Then we can close and save the file with CTRL+O and then CTRL+X to save and exit the file.
Then we can use the following command to deploy the container:
docker compose up -d
Next we’ll go to our new Dockge setup in our browser and set up our user.
To do that, you’ll go to the IP address of the server and attach the port number to the IP address.
Your URL bar will look like this:
http://192.168.0.123:5001
Of course, you’ll replace the 192.168.0.123 with the IP address of YOUR Docker server.
If you want more details on how to use Dockge for your homelab, you can check out my other video on the topic or do a search for Dockge on YouTube.
Installing Gluetun
With that out of the way, we can try installing our VPN container, Gluetun via Dockge.
version: "3"
services:
  gluetun:
    image: qmcgaw/gluetun
    container_name: gluetun
    restart: unless-stopped
    cap_add:
      - NET_ADMIN
    devices:
      - /dev/net/tun:/dev/net/tun
    ports:
      - 8888:8888/tcp # HTTP proxy
      - 8388:8388/tcp # Shadowsocks
      - 8388:8388/udp # Shadowsocks
    volumes:
      - /home/docker/gluetun:/gluetun
    environment:
      # See https://github.com/qdm12/gluetun-wiki/tree/main/setup#setup
      - VPN_SERVICE_PROVIDER=private internet access
      - VPN_TYPE=openvpn
      - OPENVPN_USER=username
      - OPENVPN_PASSWORD=p@55w0rd
      - TZ=America/Denver
      - UPDATER_PERIOD=24h
If you try to deploy this container in a Proxmox LXC, you’ll probably run into an issue in the terminal that complains about the device: /dev/net/tun


Proxmox /dev/net/tun Fix
In order to fix this, we first need to find out the ID of the LXC you’re having the issue with.
For the sake of this, we’ll say the LXC is 133
We need to edit the configuration file for that LXC and to do that, we’ll enter this command:
nano /etc/pve/lxc/133.conf
We’re going to add this to the bottom of the .conf file:
lxc.cgroup2.devices.allow: c 10:200 rwm
lxc.mount.entry: /dev/net dev/net none bind,create=dir
lxc.mount.entry: /dev/net/tun dev/net/tun none bind,create=file
More info: https://github.com/qdm12/gluetun-wiki/blob/main/errors/tun.md
Be sure to save and exit the file and then reboot the LXC.
Now you should be able to install the Gluetun container without receiving any /dev/net/tun errors.
Installing Other Containers
Now the whole point of this is to route the traffic from other containers through our Gluetun container.
While the accompanying video has multiple examples of how to go about this, we’re just going to use Whoogle for the sake of this write up.
Here is a Docker Compose for Whoogle:
version: "2"
services:
  whoogle:
    image: benbusby/whoogle-search:latest
    container_name: whoogle
    ports:
      - 5000:5000
    restart: unless-stopped
In order to run this container’s traffic through Gluetun, we’re going to have to modify the Docker Compose files of both containers.
First, we need to move the port line of Whoogle to Gluetun.
While we’re at it, we can also add a network_mode line to tell Whoogle to connect to Gluetun.
So our Gluetun Docker Compose would look like this:
version: "2"
services:
  whoogle:
    image: benbusby/whoogle-search:latest
    container_name: whoogle
    restart: unless-stopped
    network_mode: container:gluetun
And our Gluetun Docker Compose will now look like this:
version: "3"
services:
  gluetun:
    image: qmcgaw/gluetun
    container_name: gluetun
    restart: unless-stopped
    cap_add:
      - NET_ADMIN
    devices:
      - /dev/net/tun:/dev/net/tun
    ports:
      - 8888:8888/tcp # HTTP proxy
      - 8388:8388/tcp # Shadowsocks
      - 8388:8388/udp # Shadowsocks
      - 5000:5000 #whoogle
    volumes:
      - /home/docker/gluetun:/gluetun
    environment:
      # See https://github.com/qdm12/gluetun-wiki/tree/main/setup#setup
      - VPN_SERVICE_PROVIDER=private internet access
      - VPN_TYPE=openvpn
      - OPENVPN_USER=username
      - OPENVPN_PASSWORD=p@55w0rd
      - TZ=America/Denver
      - UPDATER_PERIOD=24h
You’ll want to deploy the Gluetun container first and then deploy the Whoogle container once the Gluetun container is up and running.
Considerations
Any time you have to modify and redeploy the Gluetun container (this includes any time the Gluetun container receives an update), the container will get a new ID string inside Docker and this will cause any other containers that were connected to Gluetun to lose their connections and will, as a result, need some attention.
What you’re going to want to do is go back to the containers that were connected to Gluetun and click the dropdown arrow between “Stop” and “Delete”:

Once the container has fully stopped, you can now click the “Start” button in that same area to recreate the container. This will force the container, say Whoogle, to reconnect with the Gluetun container.
Resource Links
Gluetun: https://github.com/qdm12/gluetun
Gluetun Wiki: https://github.com/qdm12/gluetun-wiki
Gluetun Docker: https://hub.docker.com/r/qmcgaw/gluetun
Gluetun Proxmox: https://github.com/qdm12/gluetun-wiki/blob/main/errors/tun.md
Private Internet Access (PIA) VPN: https://dbte.ch/piavpn (Affiliate Link)